How To Get Verified On Social Media
How to Get Verified on Instagram & Facebook
Trying to get that blue check on your Instagram and Facebook accounts? Here's our guide to getting verified.
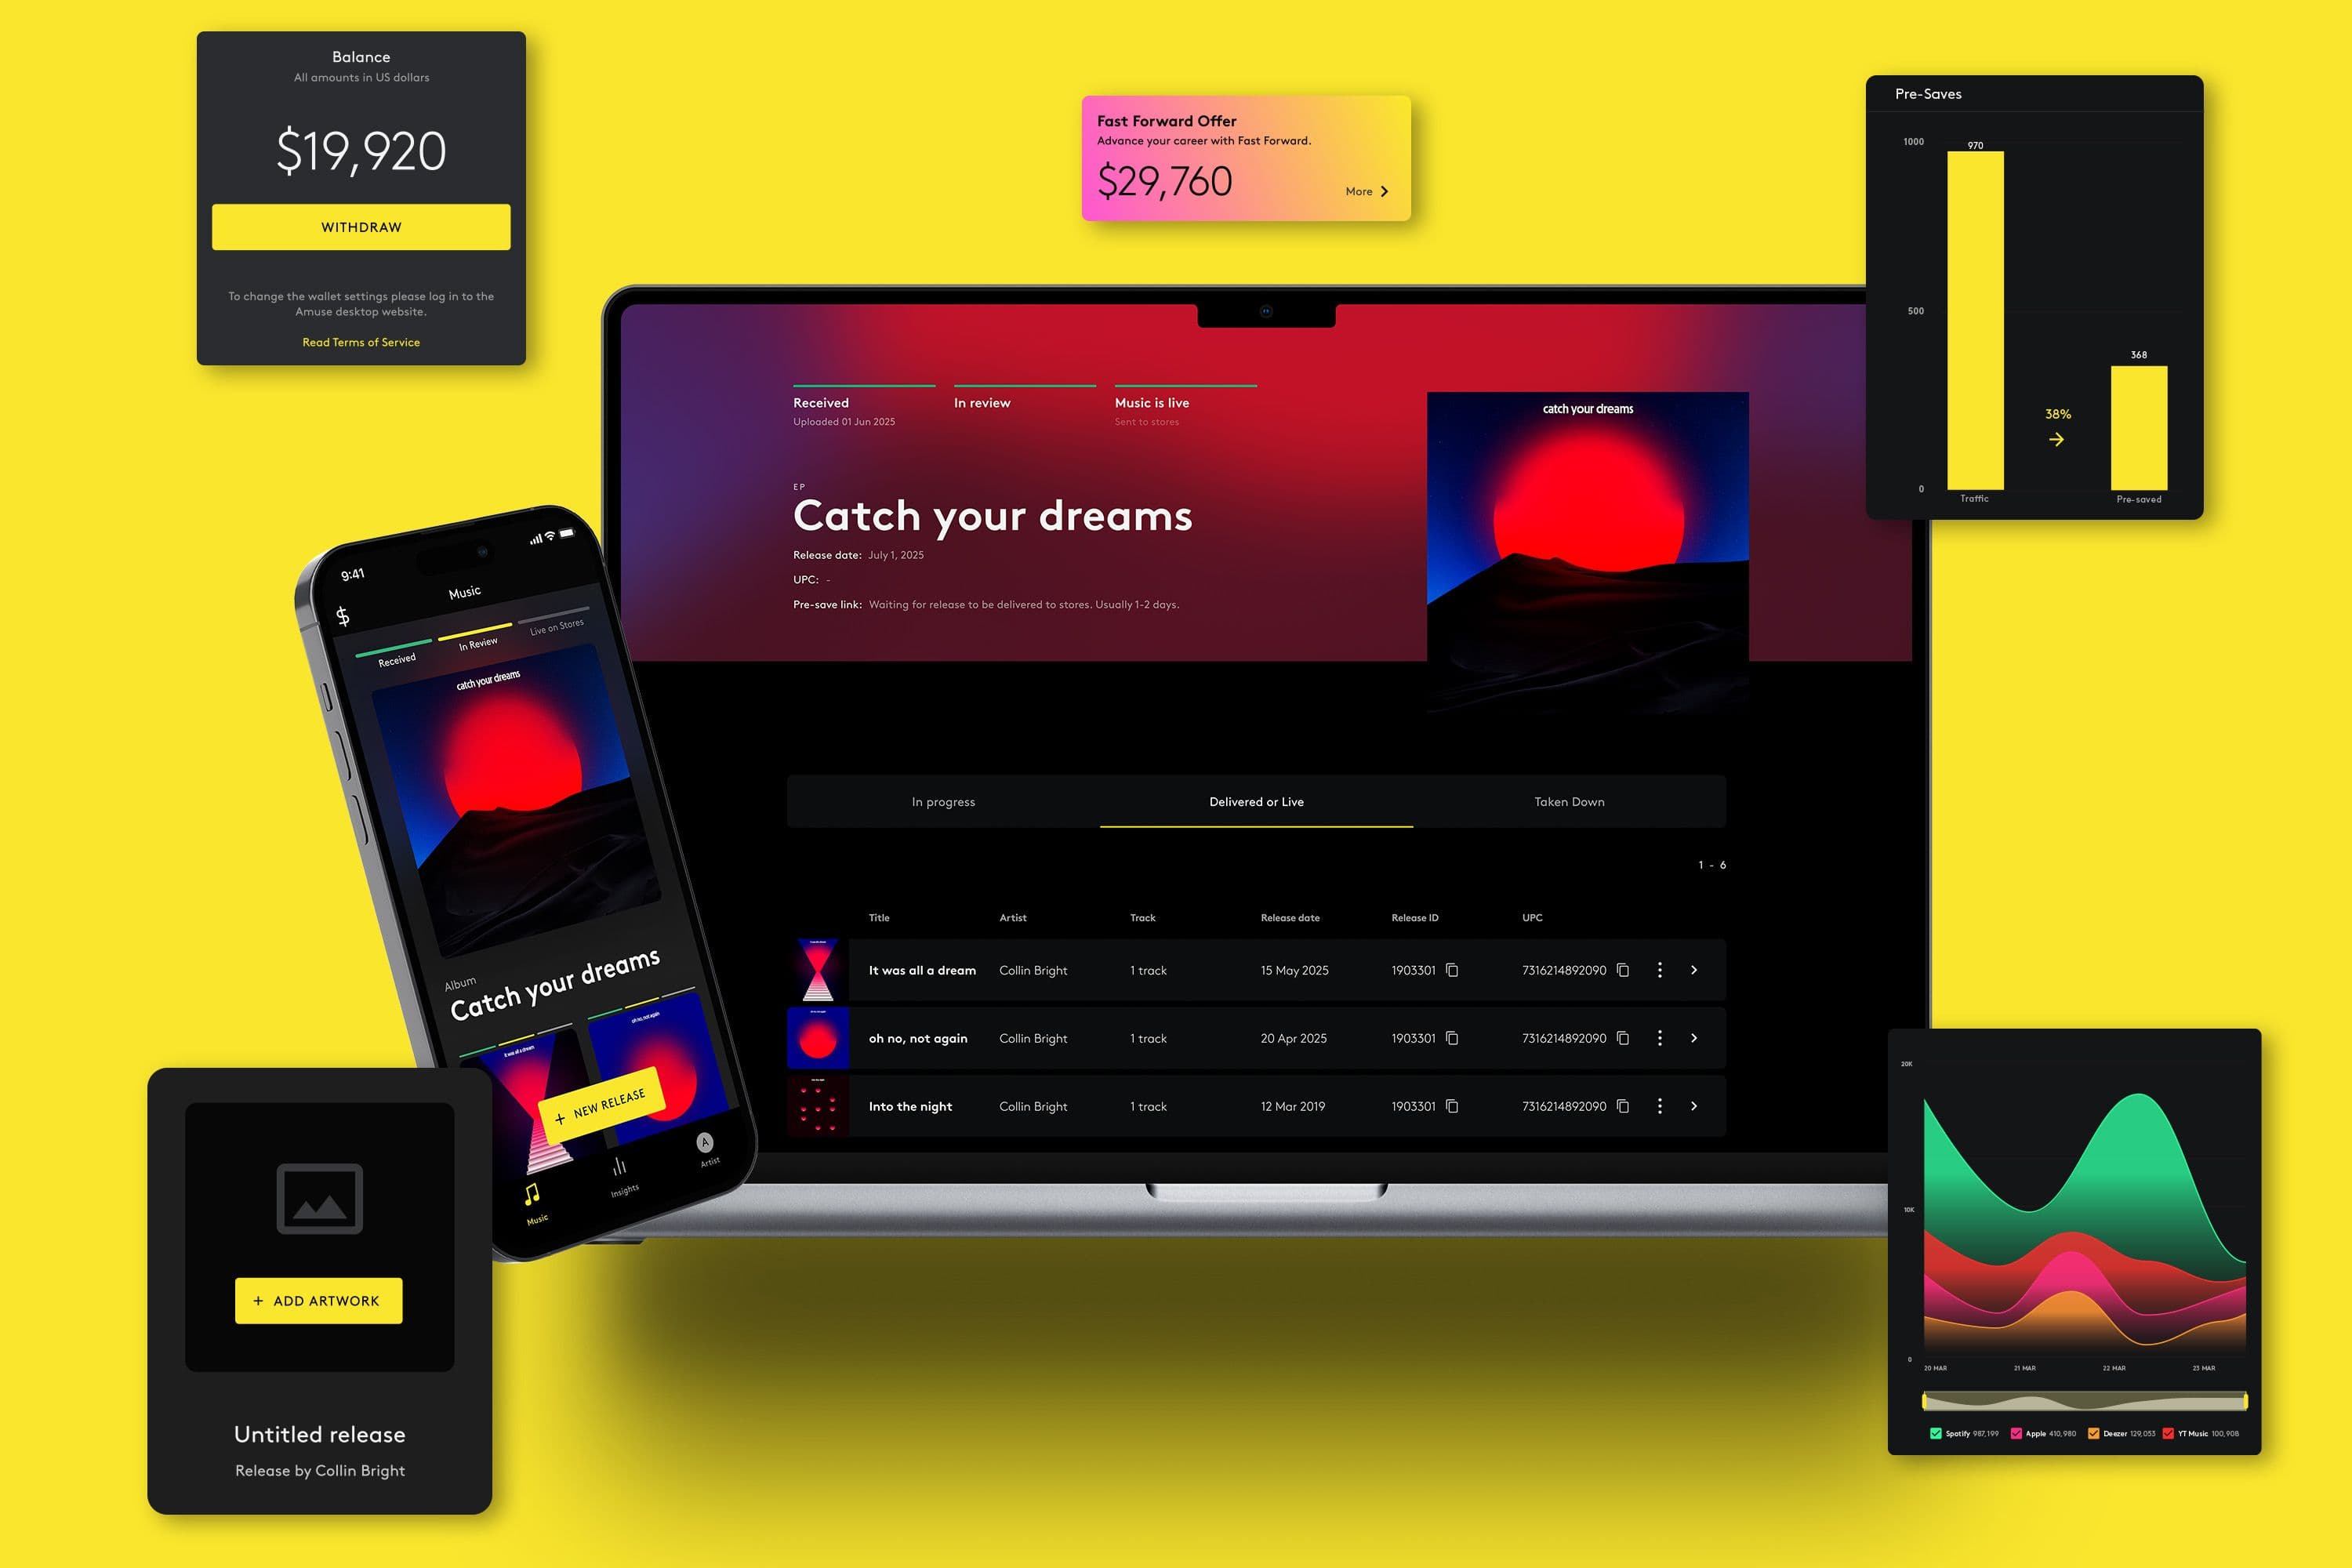
Amuse, amuse
Having that blue check mark beside your name on social media these days is a sign of authenticity and status. Seeing established artists, celebrities, influencers, brands and other notable accounts rock the blue badge can make it seem nearly unattainable for someone just starting out on social media. It’s difficult, but it sure isn’t impossible for a smaller account to get verified and we’re going to walk you through everything you need to know about social media verification on Instagram and Facebook.
Most social networking platforms have some kind of verification or status symbol. Take Facebook for example, which now owns Instagram, they have its own verification process with a white tick against a blue background for its symbol. Twitter and TikTok closely followed their own process, but we’ll get to that another time ().
It’s easy to mistake the verified badge as a sign of status, but it’s important to remember why the social media platforms implemented this system in the first place. Verification is a way for these platforms to make sure people find the “real deal” when searching for a specific public figure or brand.
Basically, if you are not considered “notable” the social media platforms will not see a valid reason to put that blue checkmark beside your name. But there are ways to work your way up to being noteworthy and checking the boxes for verification. Let’s get into it.
Instagram breaks down their verification system in their help tab of their in-app account settings. They note that a verified badge means that “Instagram has confirmed that this is the authentic account for the public figure, celebrity or global brand it represents.” They continue by disclosing “to request a verified badge, you must be a public figure, celebrity or brand and meet certain account and eligibility requirements.”
Submitting your verification request
Log into the account you are seeking verification from.
Go to your profile and tap the horizontal bar in the top right corner.
Tap the gear Settings icon, followed by Account > Account Verification.
Fill in the required information. Enter your full name and provide the requested form of identification (government issued photo ID).
Choose your niche to let Instagram know what field you’re known in.
Submit the request!
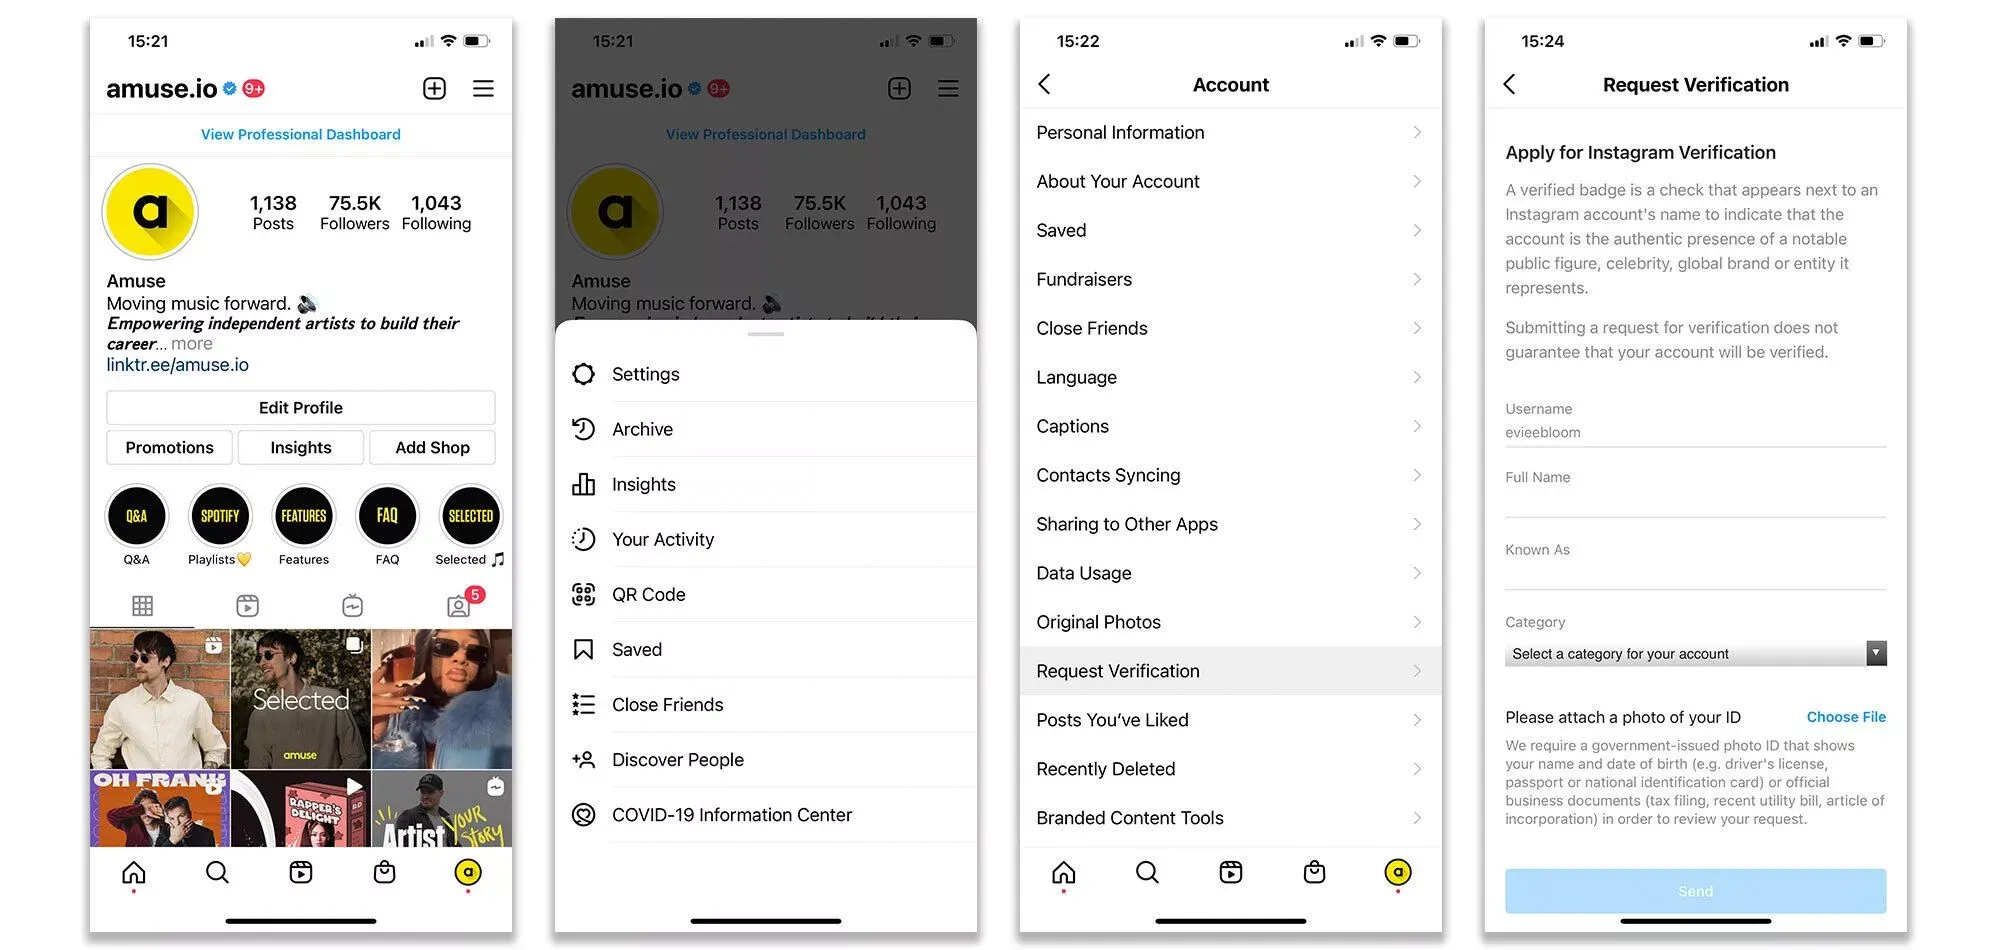 Photo: Amuse
After you have sent in your request, Instagram will make their decision on whether or not you’re eligible for verification and this can take up to 30 days.
Instagram's verification criteria
Before submitting a request, ask yourself if your account meets Instagram's verification criteria. Are you:
Authentic: Your account must represent a real person, registered business, or entity.
Unique: Your account must be a unique presence of the person or business it represents. Only one account per person or business can be verified, with exceptions for language-specific accounts. Instagram does not verify general interest accounts (example: meme accounts).
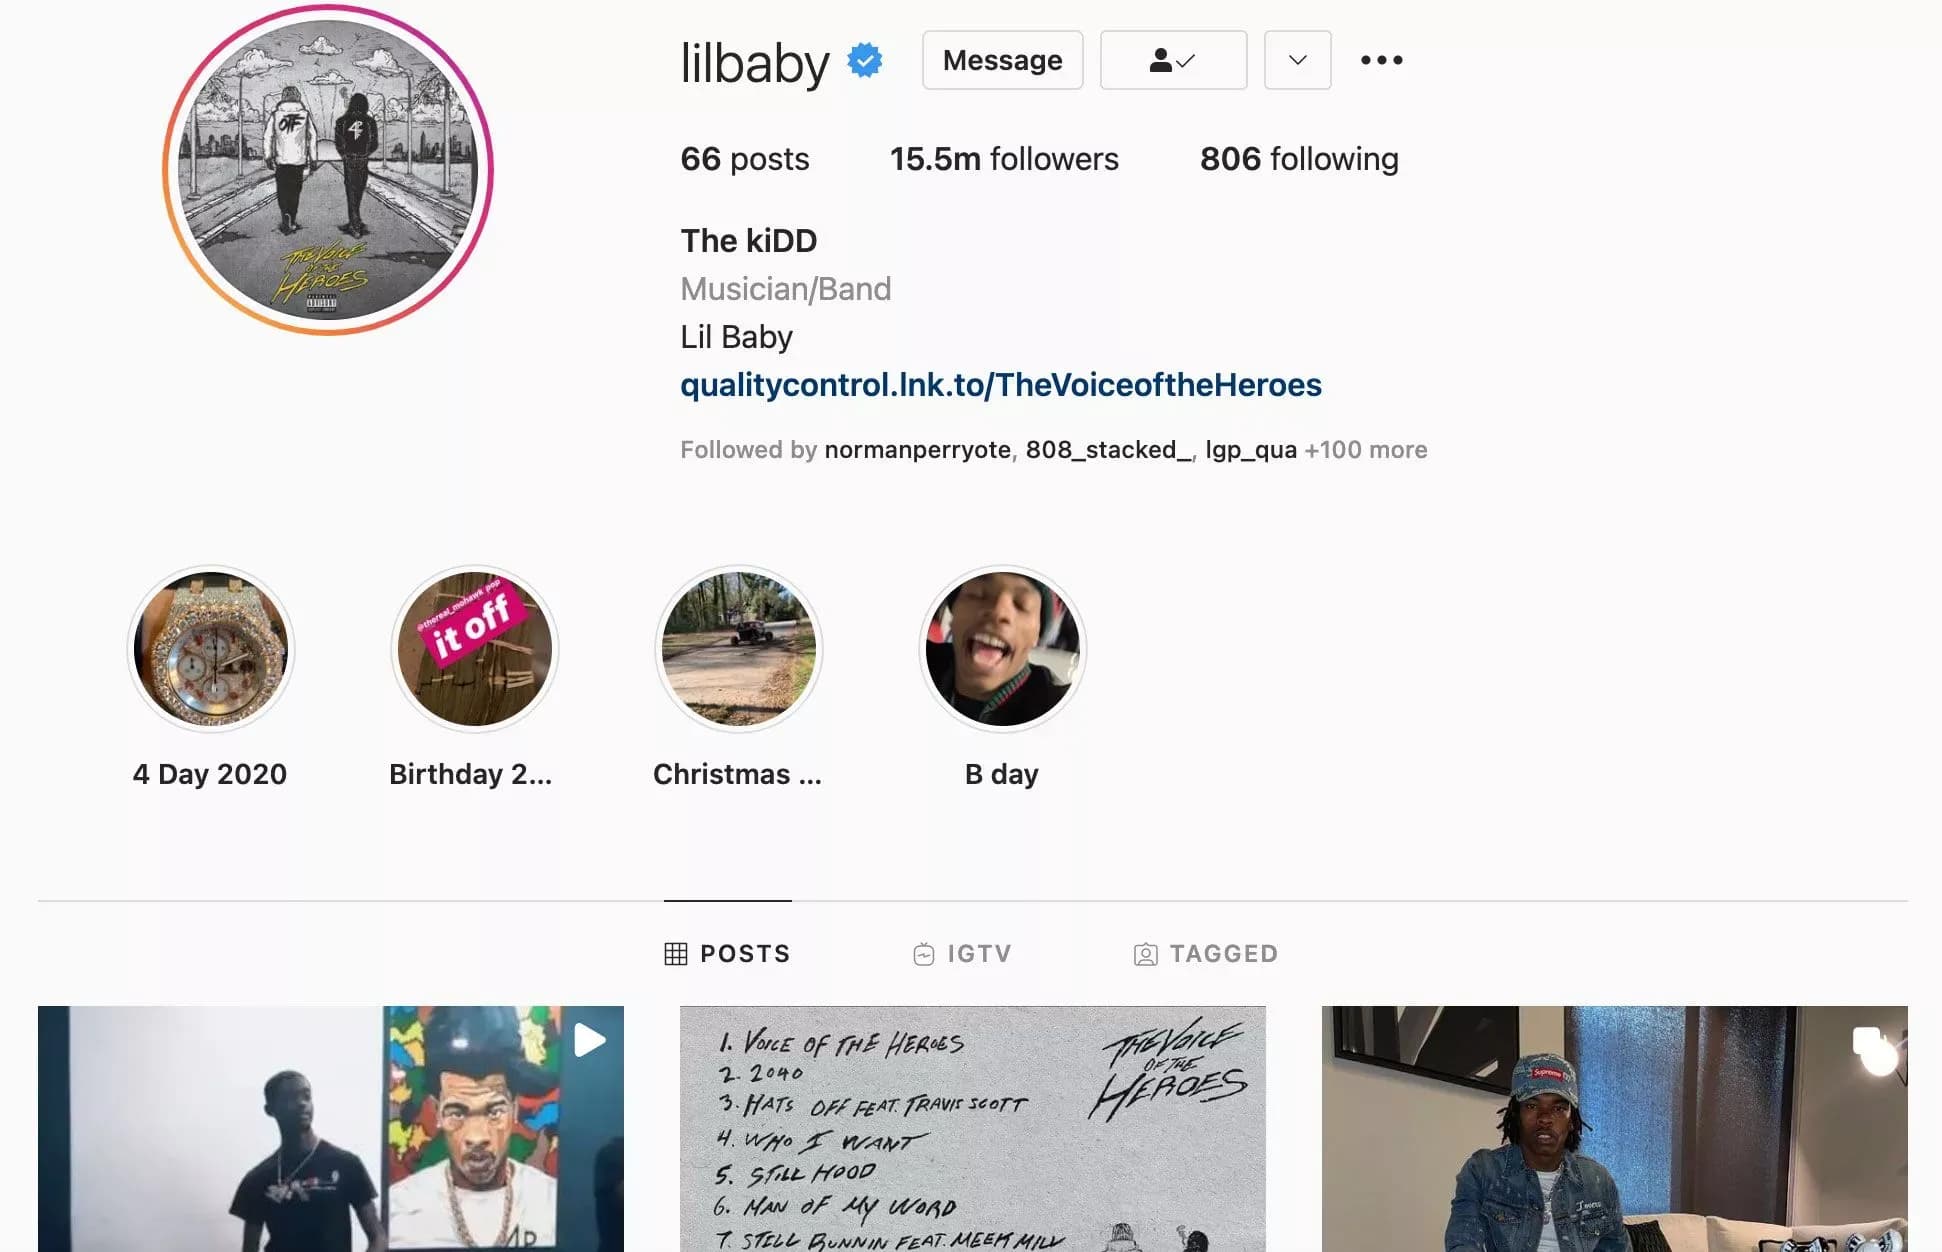
Notable: Your account must represent a well-known, highly searched for person, brand, or entity. Instagram reviews accounts that feature in multiple news sources, and they don’t consider paid or promotional content as sources for review.
Complete: Your account must be public and have a bio, profile photo, and at least one post. Your profile can’t contain “add me” links to other social media platforms.
To summarize, Instagram describes their verification acceptance as “currently, only Instagram accounts that have a high likelihood of being impersonated have verified badges.” So with that being said, if people are able to find your profile easily enough then Instagram will not see a convincing point to verify you.
Verified Tip: Keep these things in mind when striving for that blue checkmark on Instagram.
Don’t apply for verification until you’re ready. (Optimize your channel first).
Stay active and use Instagram to its full potential. Build your followers and engagement. Use a scheduling app like Later, to plan out your posts and stay active.
The key to social media is to give people a compelling reason to follow you. Be authentic, stay active and be inventive with how you use all of Instagram’s posting features like Reels, Carousels, Stories and IGTV.
Build your following on other platforms too. If Twitter, Youtube or TikTok is more your cup of tea, focus on building your presence on another platform first and use Instagram as an added outlet for your fans and followers to connect with you on.
Establish your personal brand and use SEO. Define your niche. If you’re an artist, find other qualities you can share online along-side your music. Example: how you make a beat, your sense of humor, what you’re up to day-to-day or just sharing more of your personality through your posts.
Get coverage in articles and blogs. Being featured in any major publications, interviews or respected articles will greatly increase your chances of being approved. Are you mentioned on bigger accounts on social media or are there fanpages that post about you? All of this will count towards Instagram approving your request!
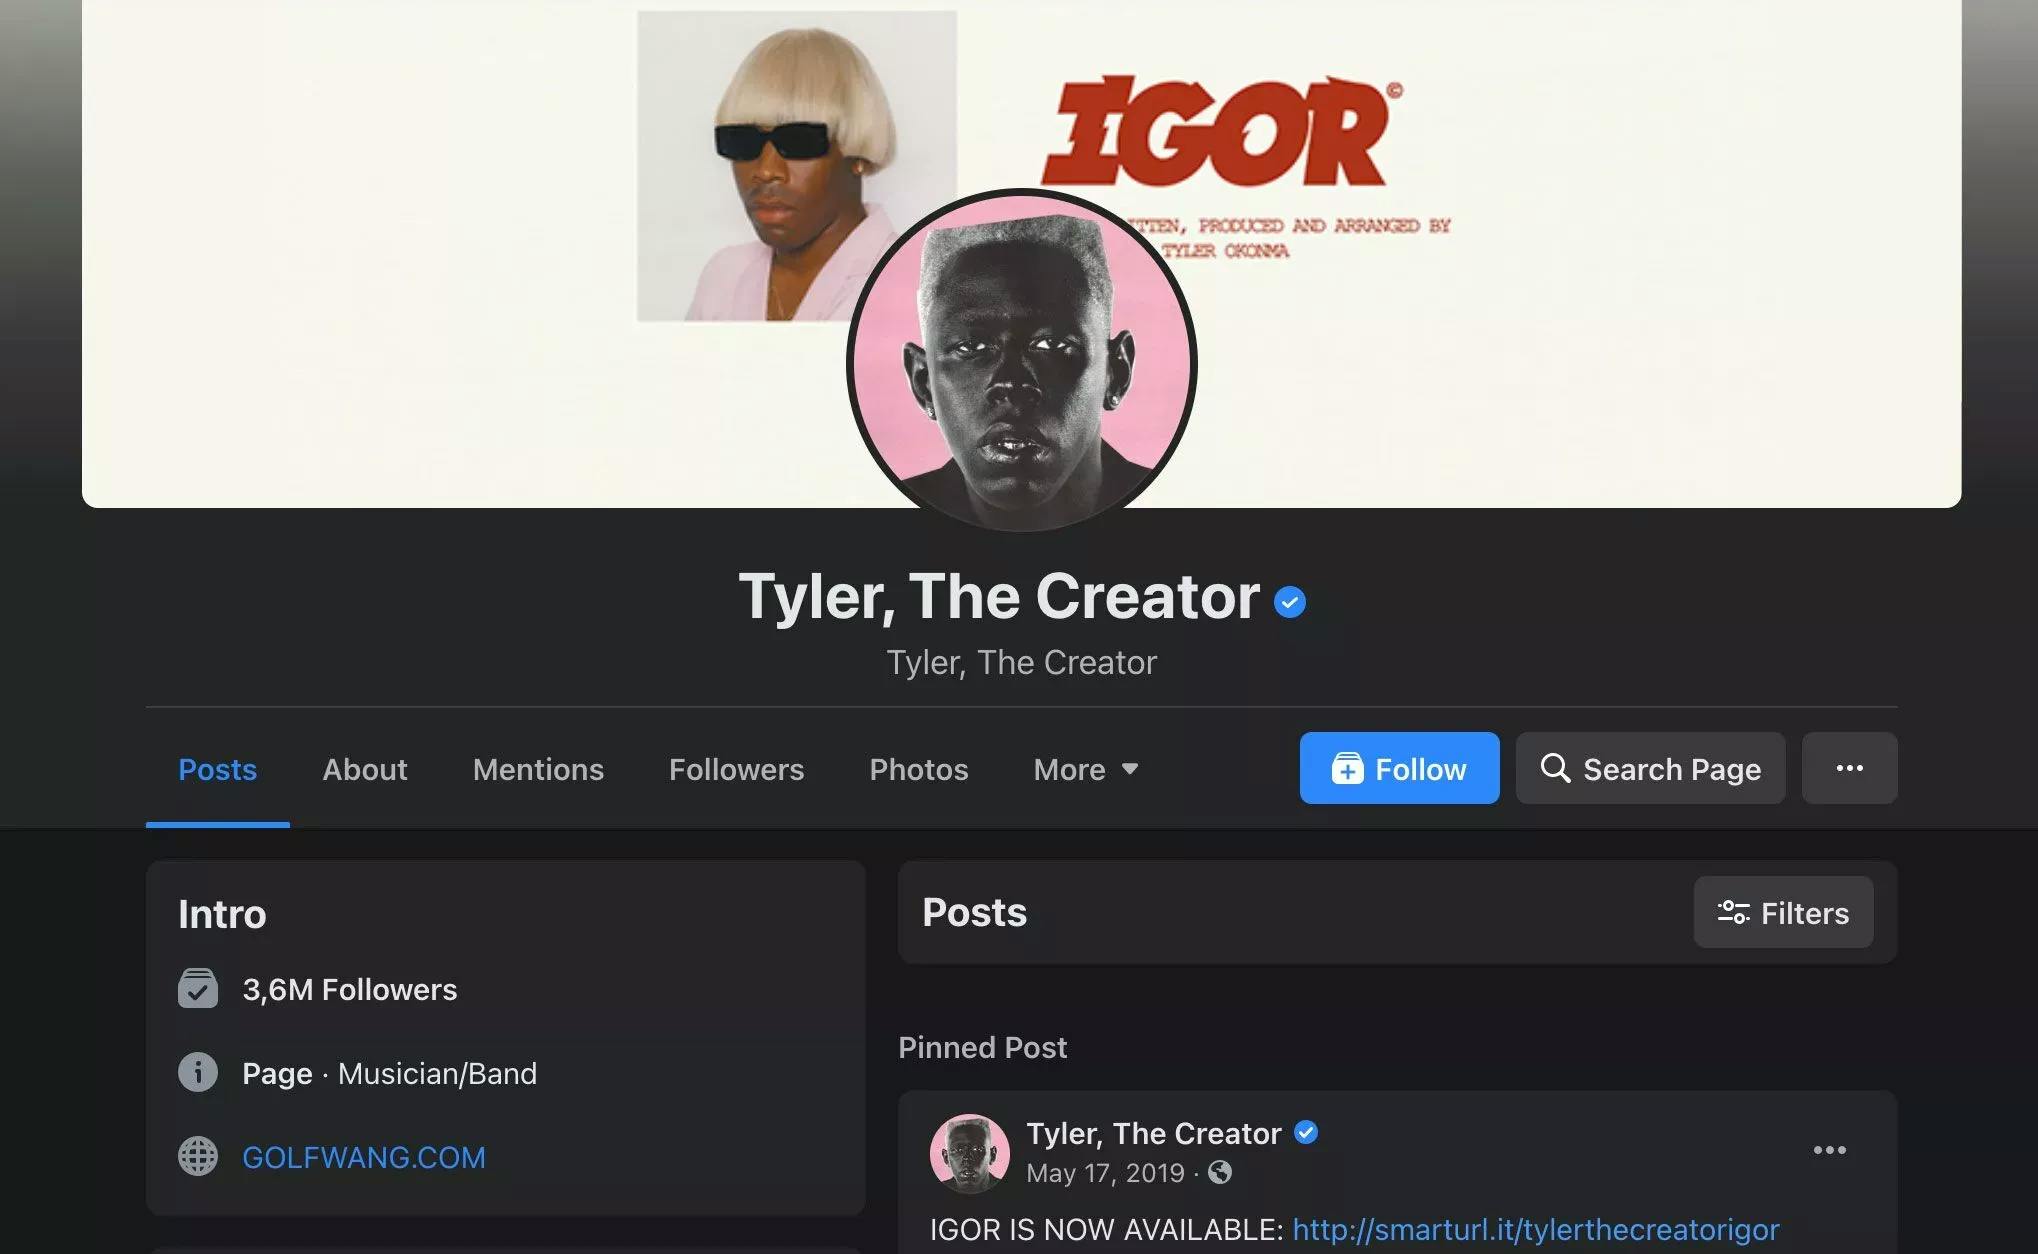
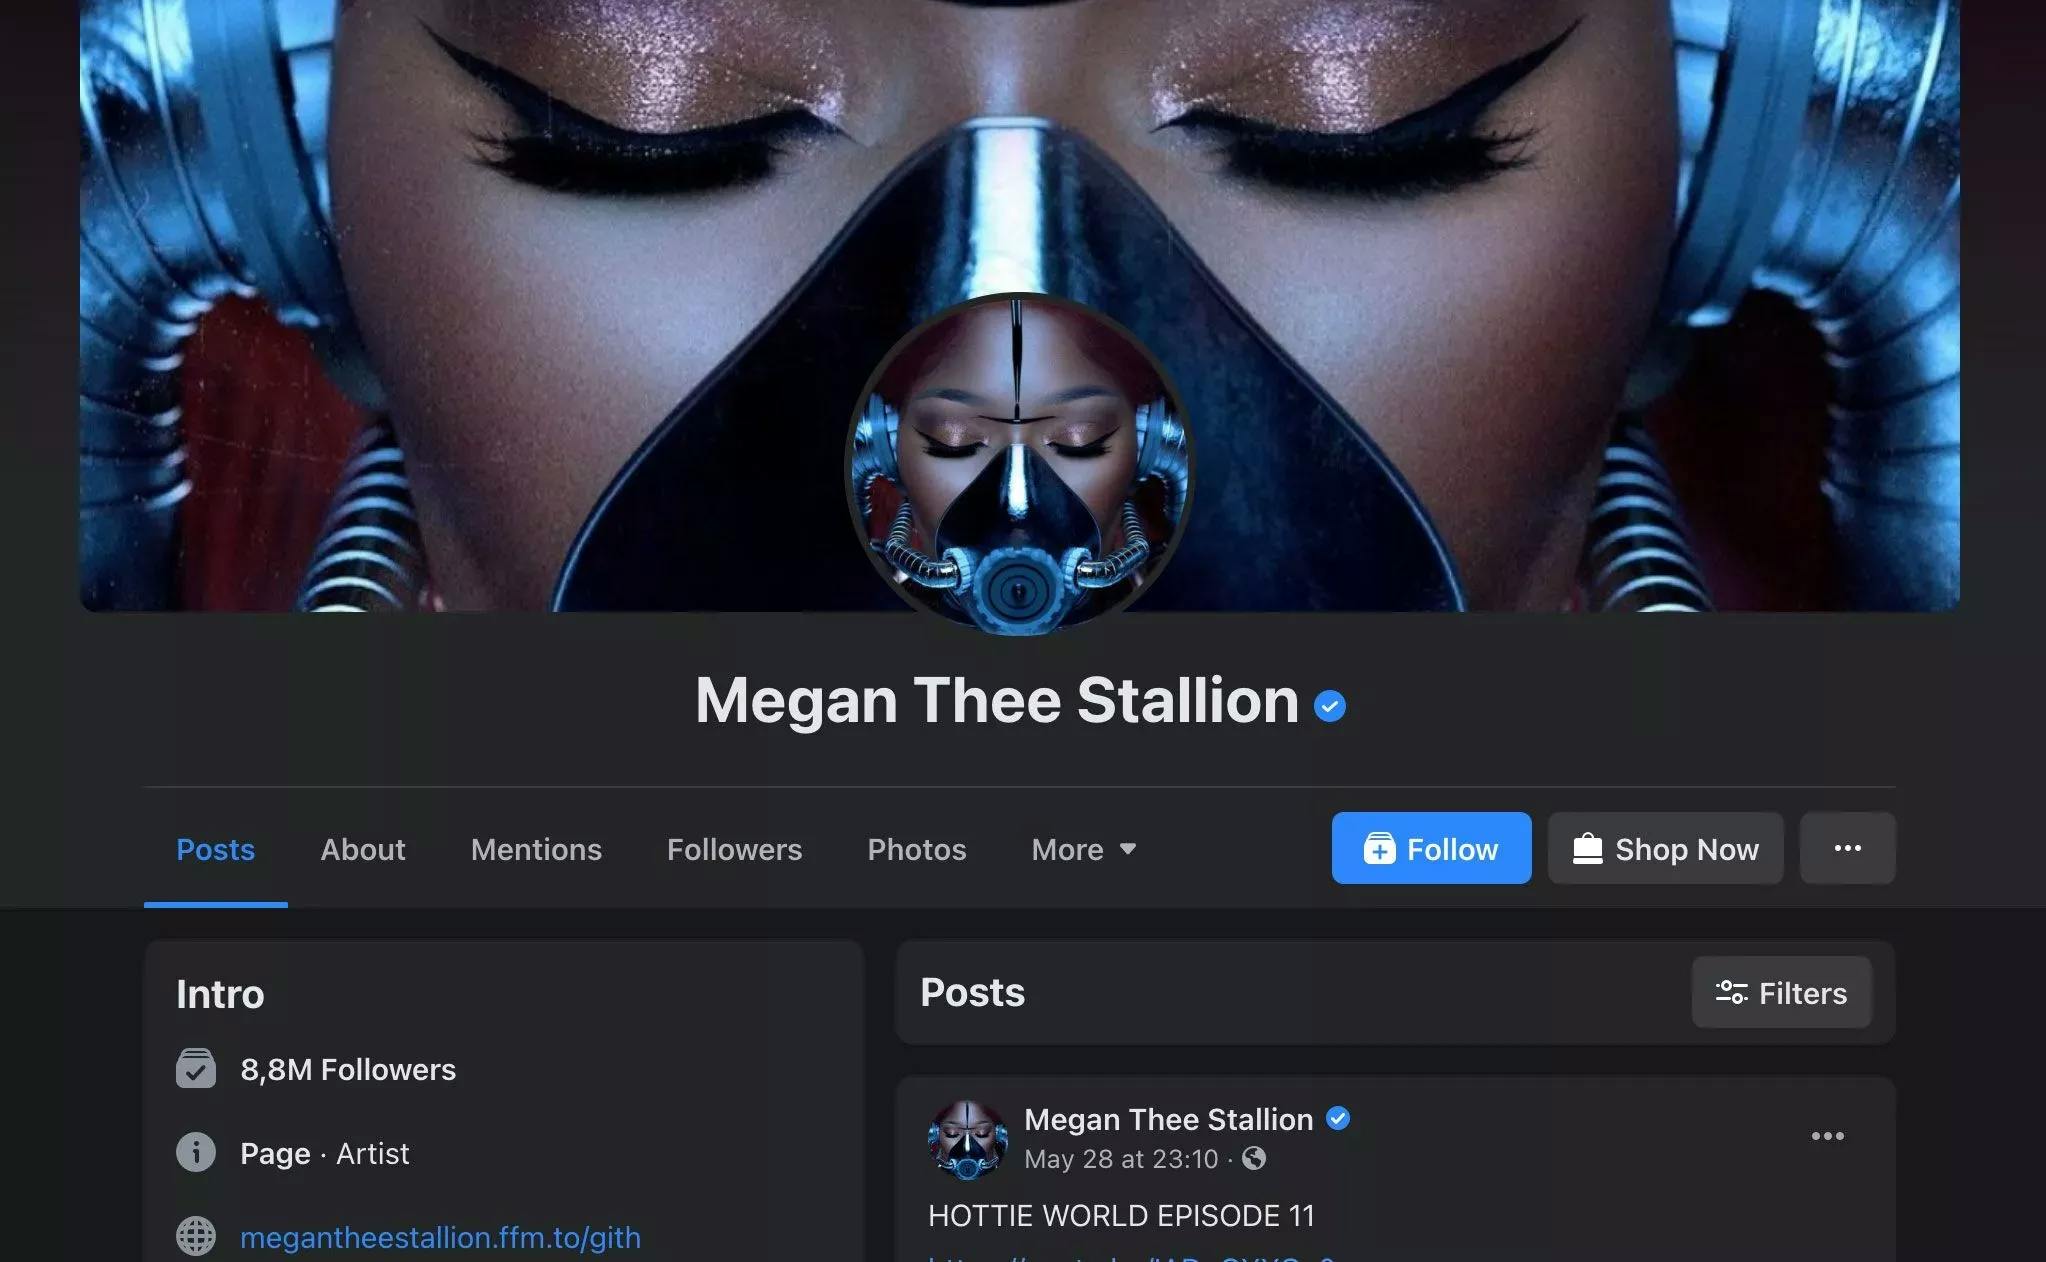
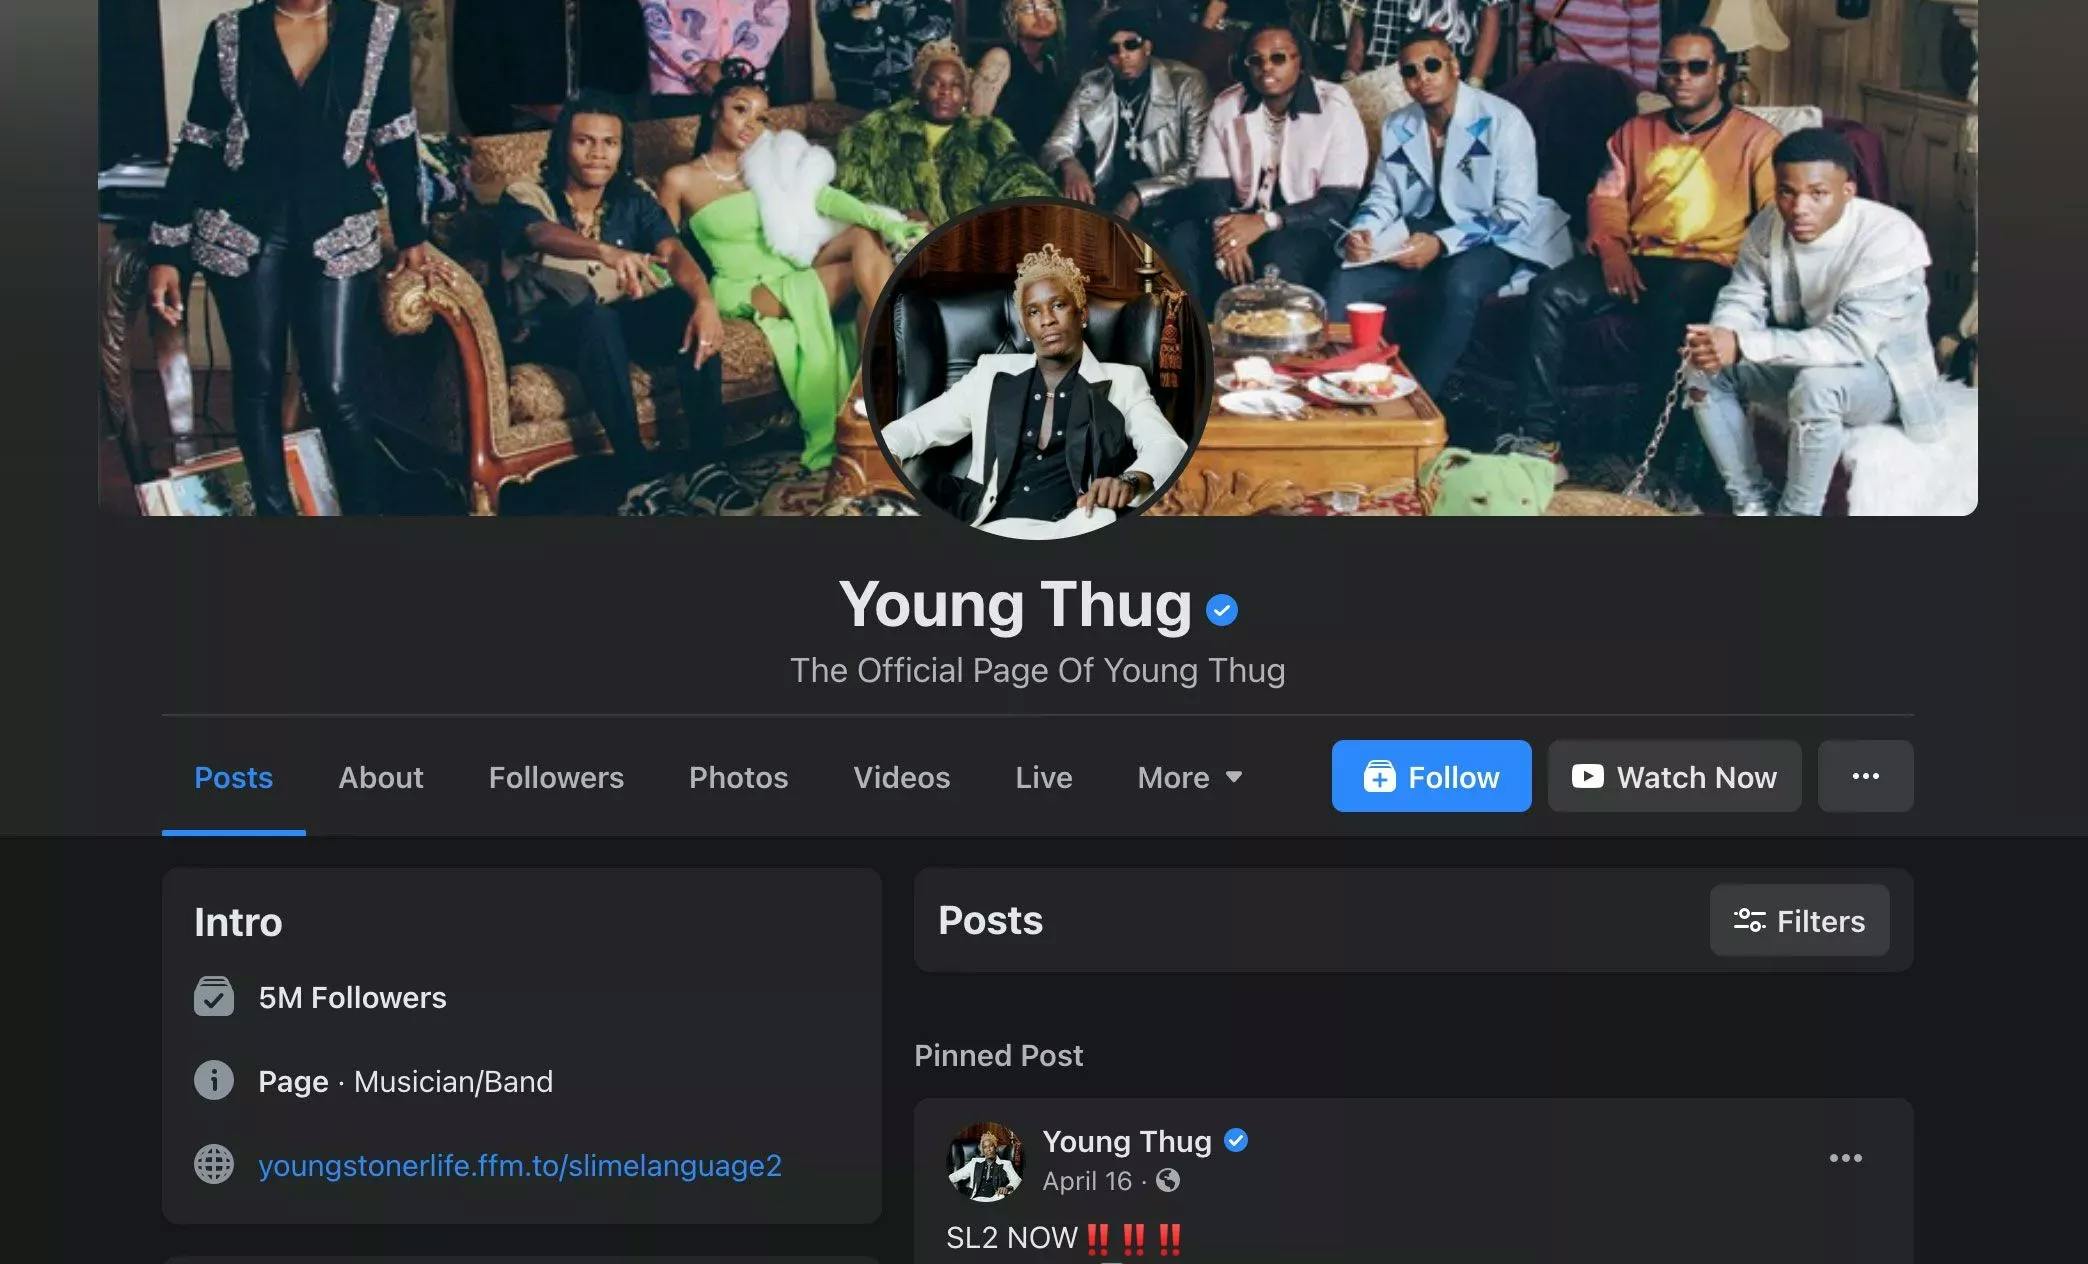
Facebook is the mother company of Instagram, but they still have their own unique verification process. Being verified on Facebook provides credibility to official pages and clearly differentiates a real page from a page run by fans and possible imposters.
Not only does that checkmark look great beside your page name, but Facebook prioritizes verified profiles and pages in its search results. This will place your page at the top of relevant searches and improve your reach.
Submitting your verification request
Open the contact form here.
Choose your verification type (Page or Profile).
Select which Page or Profile to verify.
Add your country.
Attach requested personal identification (example: government issued ID, passport).
Explain why you want verification (example: why do you need a verification badge to help your page or profile stand out).
Submit the request!
After submitting your request, Facebook can take from 48 hours to 45 days to respond to your request.
Facebook's verification criteria
Anyone can get verified on Facebook but you will have to meet their verification criteria to get approval. Following the company’s terms of use is important, so be:
Authentic: Your page should represent a real person, entity or business.
Notable: The person, entity or business your page represents should be well-known and highly searched for. There should be articles and publications that feature the page’s topic of interest.
Unique: Your page should have a unique presence of the person, entity or business it represents. Facebook only verifies one account per business or person, with the exception of language-specific accounts. Note: they won’t verify a general account about
Complete: Your page should be active (multiple posts) and have an updated “About” section and profile picture.

Verified Tip: To increase your chances of getting that checkmark beside your page profile name, keep these things in mind before submitting your request:
Have a complete profile. This means having an updated profile picture, a detailed bio in the about section, a link to your official website, a cover image, and anything else that needs to be filled in to make your profile complete. Make sure you have at least one post on your profile or page as well.
Create a strong reason why verification is important. The stronger reason you can provide to why you need Facebook verification, the higher your chances will be of getting approved.
Refer to any publications or mentions of your account. Include any major publications, interviews, or respected articles that you have been mentioned in. Are you mentioned on bigger accounts on social media or are there fan pages that post about you? The inclusion of all legitimate public mentions will strengthen your chances of being approved!
Know additional requirements for your niche. Make sure your profile or page reflects the selected niche in your verification application. If you selected Music, like you most likely have done on Spotify, treat it like an about you page - promote your new releases, any performances coming up, record yourself performing a live version of one of your songs, and so on (you get the point).
To summarize, Facebook verifies anyone as long as you meet their requirements. Make sure you have your profile or page completely set up including bio, email address, website link, and description. Stay active, post updates regularly and link your other social media handles. The goal is to have as much information filled out to make your profile or page look more legitimate to greaten your chances of being verified.
Now that you've got Instagram and Facebook down, read our guide that covers YouTube, Twitter, and TikTok verification.